
Now, you are ready to start dispatching, in order to capture each booking you will need to head out to the "Dispatch" menu on the left.
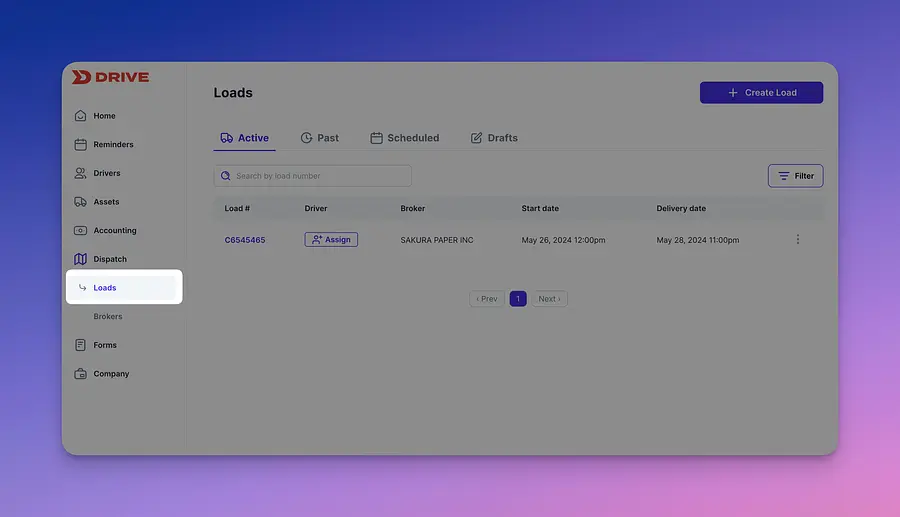
Now lets start by creating a new load.
Now lets start by creating a new load.
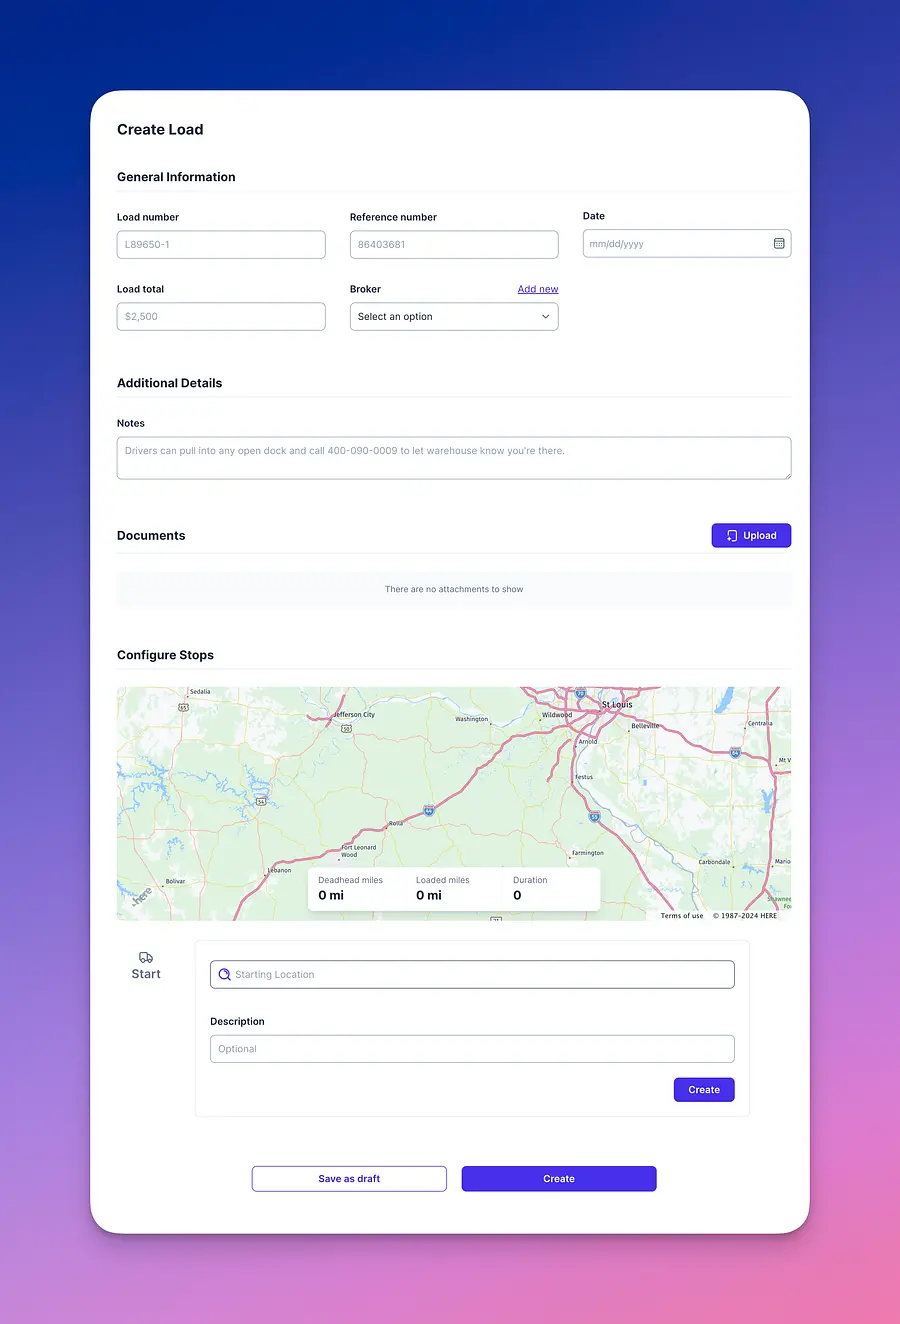
Note that a broker would have had to be created before you start this process.
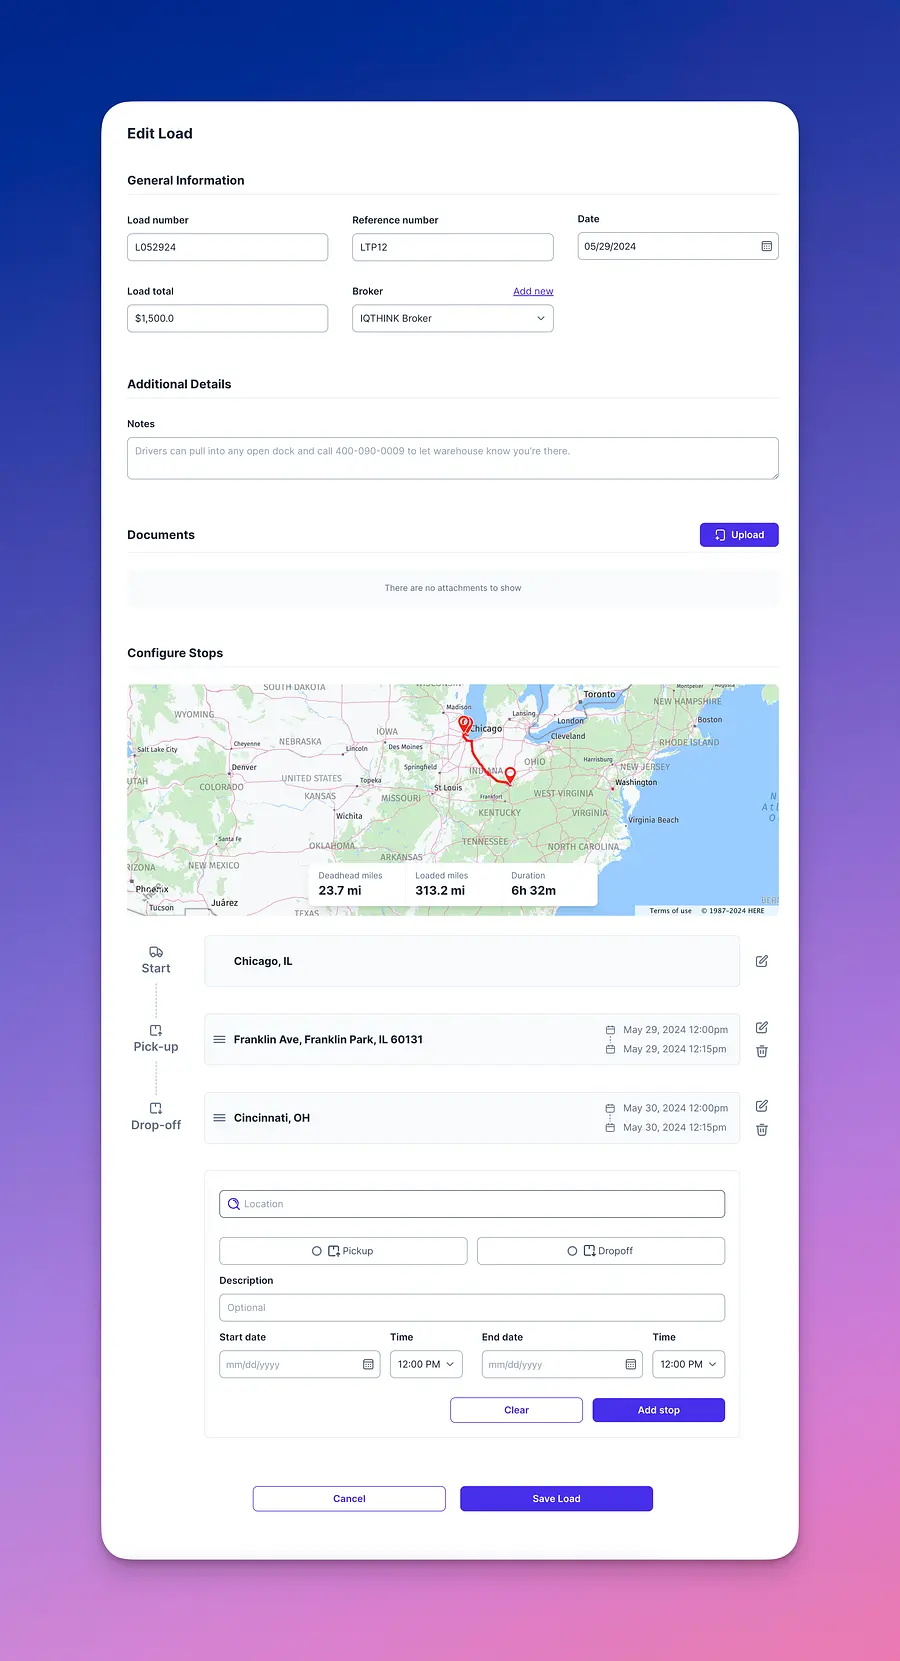
A few thing will be needed such as:
- Load number
- Reference Number
- Date
- Load Total
- Broker
- Notes
- Trip Details (From and To)
Once the form is completed you will be redirected to the respective load page. In here you will be able to do a few thing:
Assign a driver, make sure that the driver you are assigning has already been created and in your driver list:
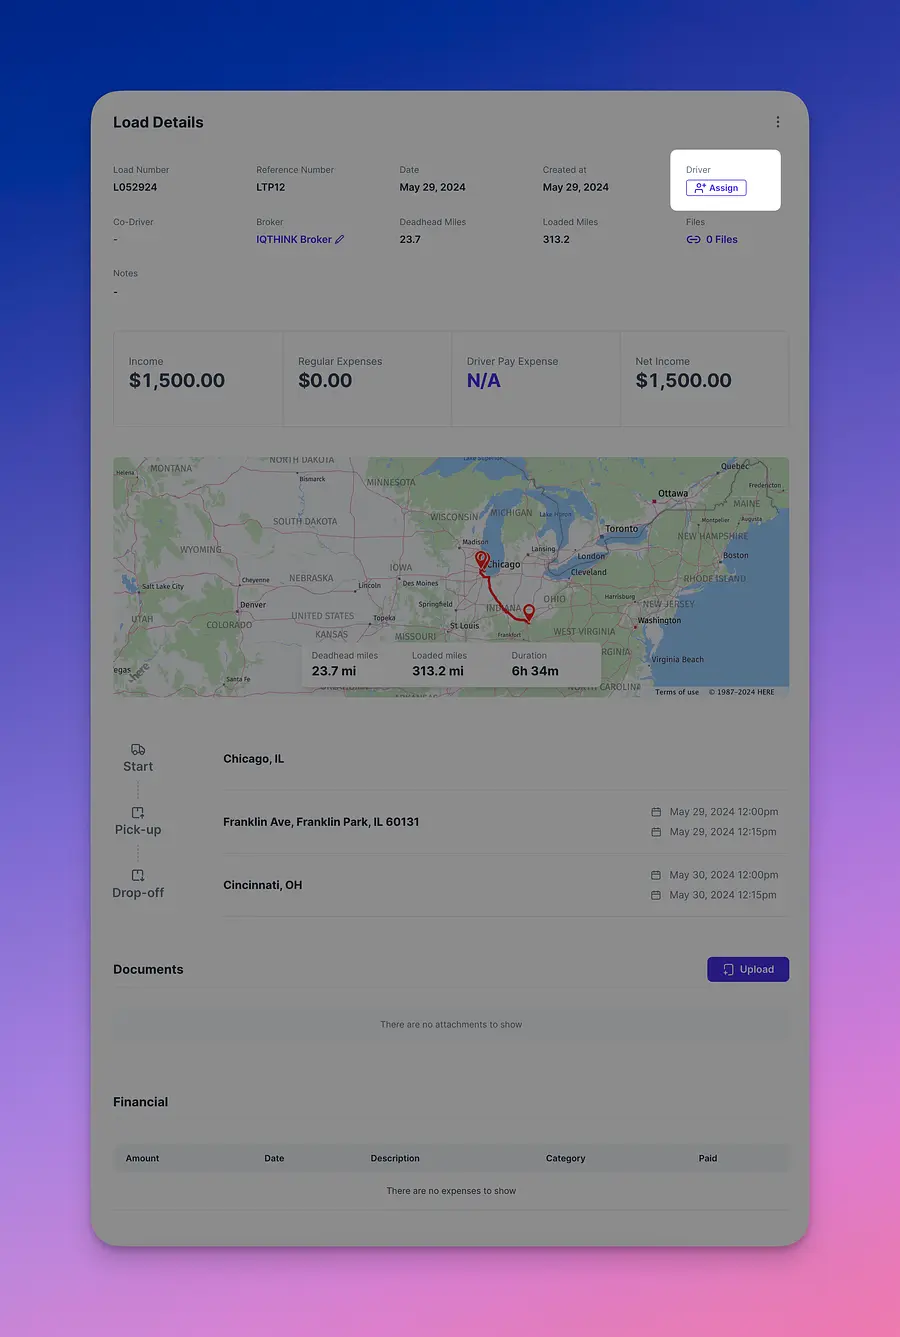
Once a driver is assigned the driver pay will update based on the respective driver setting in the driver profile:
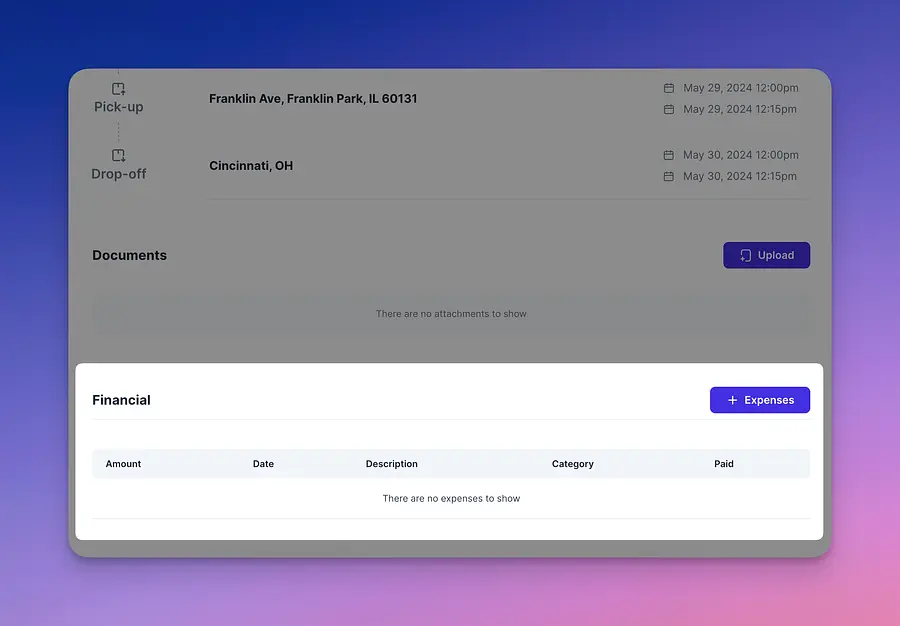
You will also be able to add documents (Note that you can add documents as well when creating the load):
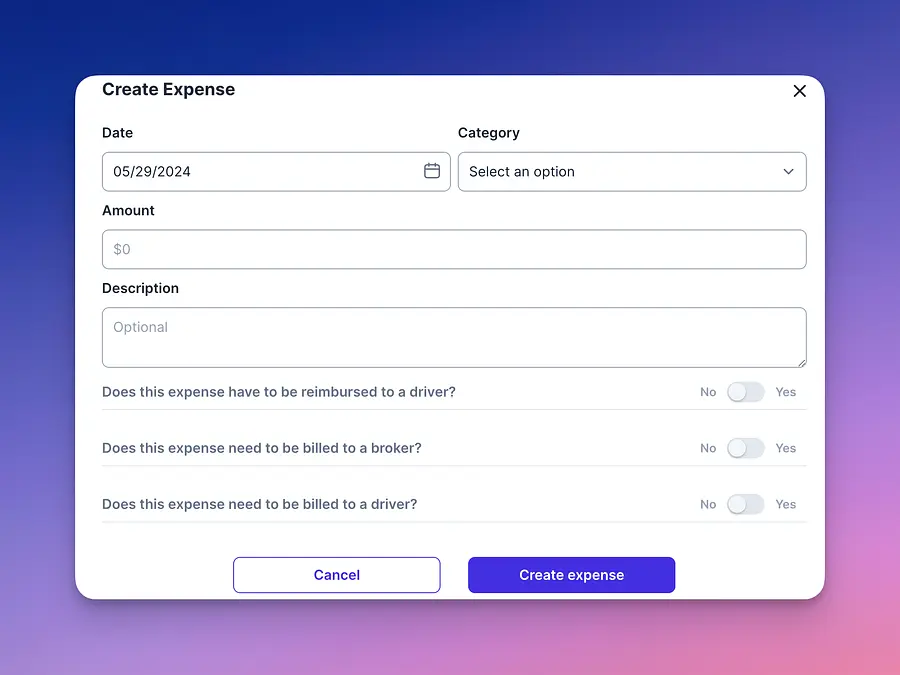
You will also notice a financial where you can add expenses related to this load if applicable:
Note that you can also edit the load by selecting the three dots on the top right hand and change any of the load details.
⚠️ You will also notice that a close button will appear at the top right, do not click on this button unless the load has been finalized and nothing will be changing. Closing the load means locking all details and relevant information. This is done for accounting integrity and reports.
We hope this short guide has provided some guidance in how to register a load booking. If you have any questions do send us an email to support@driverseo.com and our team will reach out as soon as possible to resolve it.